A few days ago I stumbled upon a new sketching app for the iPad called
Sketches by A. Tayasui. I decided to take it for a test drive and I found myself comparing it to
53's Paper app. Both apps have a very clean design centered around a tray of artist tools. Each app has pencils, pens, brushes, and erasers as well as a very clean and well designed layout. Here is a side by side comparison as well as reviews of each app.
Sketch by A. Tayasui
 |
| Sketches has a wider range of tools than Paper by 53. |
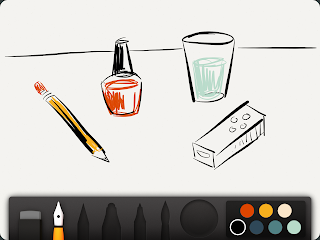
Like Paper by 53, Sketch has a pencil, pen, brush and eraser as part of your "art kit" with the addition of two mechanical pencils, a Tombow Dual Brush Pen, a flat painter's brush and an airbrush tool. Both programs have a color palette option, but Sketches uses color swatches which allows you to select colors as well as add your own colors to use later. Each tool is gray out until you select the one that you want to use. Once the tool is selected it turns red and opens a tool bar with rows of circles that grow larger in descending order. These circles represent increases and decreases in the size of the mark a tool can make.
The Fill Transfer functions a lot like the pen tool in Adobe Illustrator where it fills in patterns based on the lines that you have created. An interesting feature that I have not seen in any other sketching program I have reviewed so far, but not very useful or practical in my opinion. In addition to the Fill Transfer function Sketches will let you chose to push colors forward or back creating overlapping effects without the use of layers. An interesting feature, but having real layers to work can be the difference between a sketch and a finished work of art.
Pros and Cons for Sketches by A. Tayasui Apps...
Pros
 |
| Sketches lets you save color choices for later under color swatches. |
- Aesthetically beautiful app that is easy to use and easy to navigate.
- Gives you a wide range of drawing utensils that are visually manifested on a tool box to the left of you screen.
- Sketches lets you use the pro version for free for 1-hour at a time so you can test it out before you purchase it. I have clicked on the 1-hour free trial on two or three different occasions so I know you can try it out more than once, but I don't know if their is a limit to how many times you can do this.
- The pro version for $1.99 which is significantly less expensive than similar apps found in iTunes.
Cons
- Even though you can adjust the size of your brushes in the pro version of the app there is little adjustments that you can make beyond adjusting the size and opacity of the brush you are currently using.
- The only way to view your work is to scroll through all of the sketches without being able to group or organize files.
- There is no way of increasing the size of your canvas or the file size in Sketches which can be very limiting.
- No layers (see update below).
I give Sketches by A. Tayasui App...
Update: It looks like Sketches HAS added layers to the pro version in one of its more recent updates!
 |
| 4 our of 5 stars |
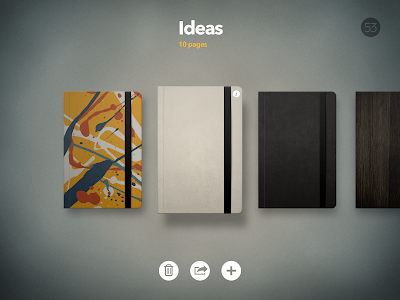 |
| Paper by 53 uses sketchbooks to help organize your drawings and art projects. |
Like Sketches by A. Tayasui App, Paper is a well designed and aesthetically pleasing app used for sketching and note taking. Paper has a pencil, two markers and a pen tool to make marks, but in the free version there is no way of adjusting the size of the mark as well as the opacity. Sketches does have the ability to change size and opacity, but only in the pro version which is a $1.99. Paper only comes with the basic pen tool requiring you to either pay $1.99 for each tool in the tray (pencil, brush, two markers and a color mixer) or paying $6.99 for the set (five dollars more than Sketches). Paper also has a good color mixer, a brush that does a good job of mimicking the look of watercolor and good line quality without the ability to make subtle adjustments to the brush that comes standard with most sketching applications.
 |
| Paper only comes with a pen tool for free and the rest you have to purchase. |
The one thing that sets Paper apart from its competitors is its page by page interface and the ability to create unique sketchbooks to organize your work. Paper gives you a wide range of covers to choose from as well as allowing you to create your own covers from photos found on your iPad. This is a great feature if you want to organize your work by project rather than having to search through PNG or JPEG files on your iPad.
Over all Paper is a very aesthetically beautiful app that is great for sketching and organizing work in sketchbooks, but not something I want to use to create a real finished work of art in like I would in ProCreate.
Pros and Cons for Paper by 53...
Pros
 |
| Paper has a very stylistic look to it, but it is very limiting. |
- Like Sketches, Paper is aesthetically pleasing and easy to use regardless if you are a novice or a professional artist.
- The ability to create sketchbooks to help organize sketches or projects that you are working on.
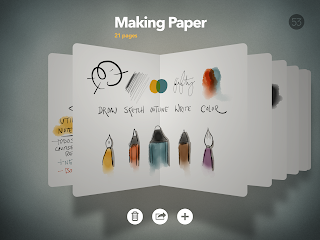
- Being able to flip through pages in your sketchbook works every easily and is very distinctly Paper.
Cons
- There is little to no adjustments that you can make to your tools including adjustments to the size and opacity of the brush you are currently using (this might be different if you pay for all of the tools rather than just use the pen tool that comes with the app).
- There is no way of increasing the size of your canvas or the file size in Sketches which can be very limiting.
- No Layers!
I give Paper by 53...
 |
| 3 out of 5 stars |
Each app is best used for sketching, quick illustrations, etc, but not good for digital painting. Both apps are suited more for the casual user rather than the professional artist so if I was forced to choose between Sketches and Paper I would go with Sketches.
Sketches has more tools and allows you to adjust the size and opacity of your brushes where Paper does not. You might be able to do more with the tools in Paper if you purchase them, but the pen tool alone is very limiting. Lets also not forget the cost of the two programs. Sketches gives you a lot of options for free and gives you a 1-hour free trial. If you decide to purchase it you only have to caught up $1.99 which is pretty inexpensive considering what you get. Paper is also free, but comes with only the pen tool and only 7 colors to choose from without the option of a color mixer. If you want you can pay $1.99 for each tool or $6.99 for all of the tools up front. Since I could not fully test Paper's full version for free I can not comment on what you will receive, but based on the sample it is not worth the money.


.png)


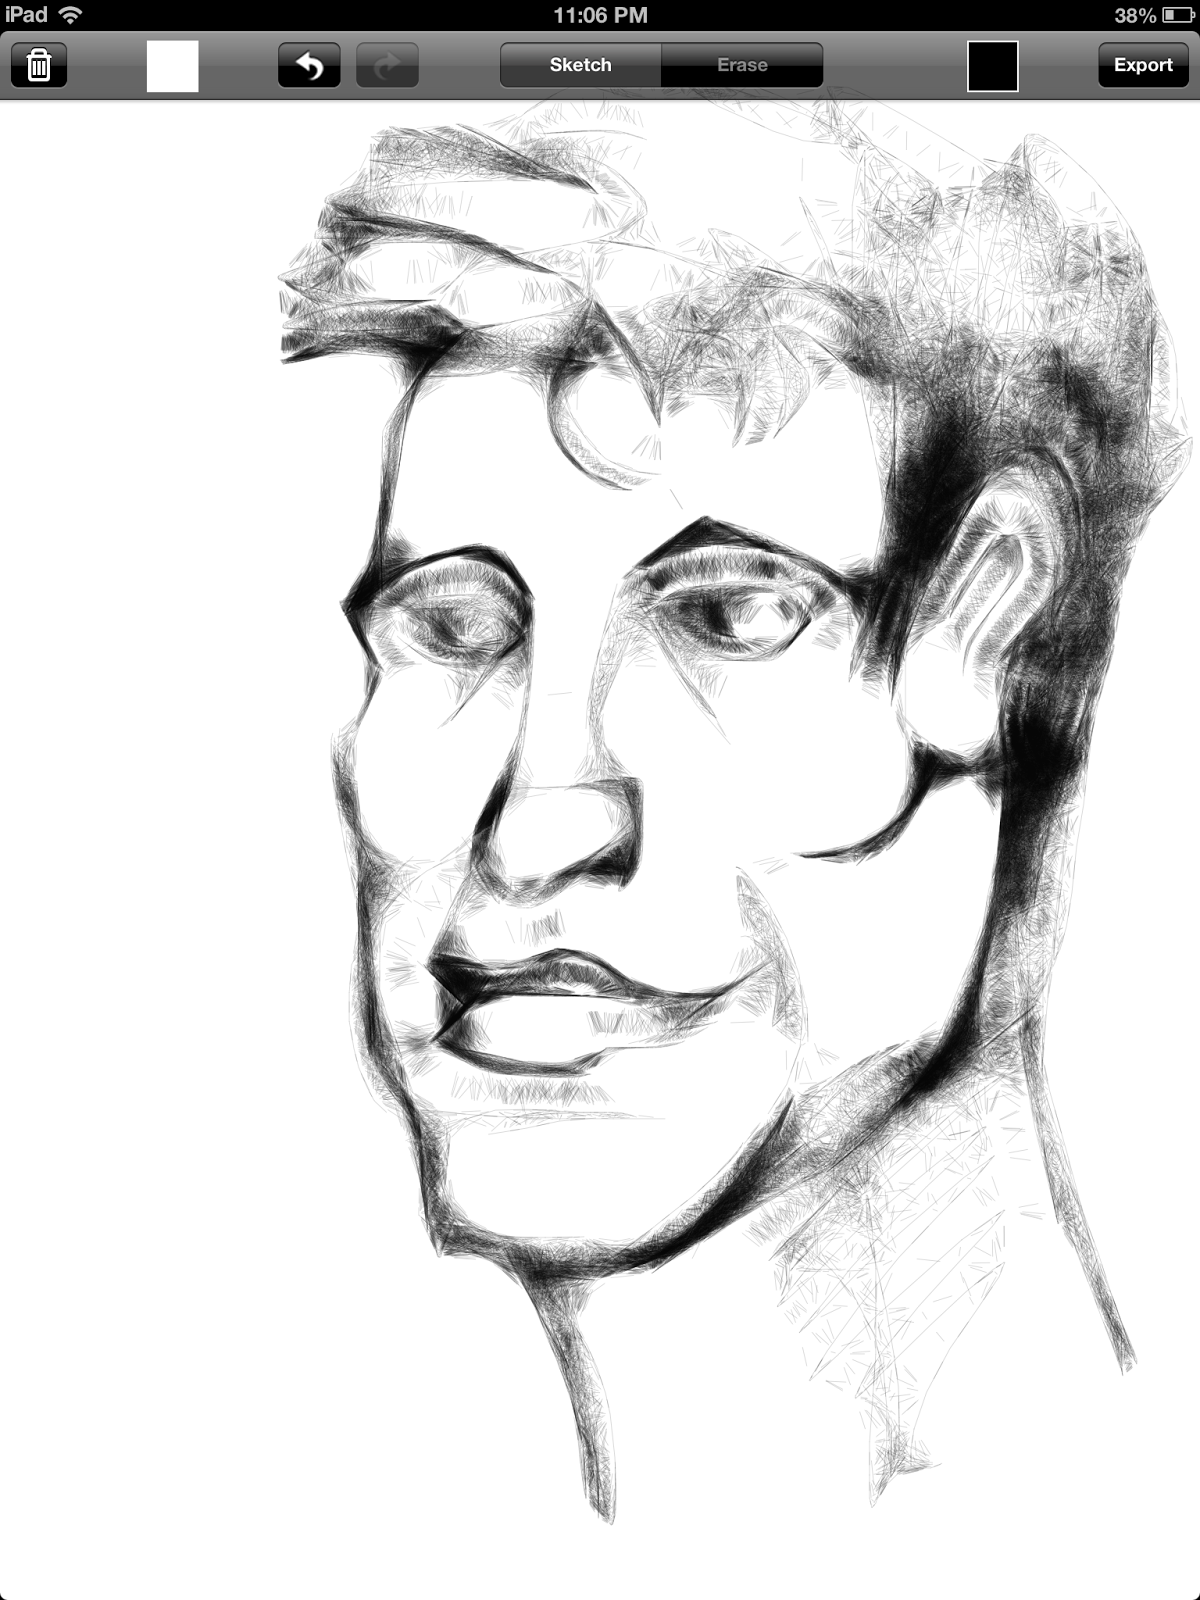
.PNG "Zen Brush is a monochromatic digital painting app for the iPad")


